Showing posts with label Seche Vite. Show all posts
No comment yet

Happy Valentine's Day!

Today we wanted to show you our Valentine's Day manis :)

Ericka's:  She started with 2 coats Zoya Kennedy and then topped it with a coat of Essie Good To Go.  Next, she stamped cheetah print with Orly Liquid Vinyl on all the fingers except the ring fingers and thumbs.  After the stamping dried, she used Ulta Non-Stop Red to add little dots of color to the cheetah print.  On her ring fingers and thumbs, she folded a piece of tape in half and cut out half a heart.  After unfolding it, she stuck it on her nail and used OPI Black Shatter to paint it in.
Brittany's:  I started with 2 coats of Ulta Non-Stop Red on all of my nails.  After adding a coat of Essie Good To Go, I used the same cheetah print stamp with OPI Pink Friday on all my fingers except my ring fingers.  I also added Ulta Glitter Top Coat dots to the dots on my cheetah print.  On my ring finger, I stamped with one of my new Red Angel plates with OPI Alpine Snow.  I also added Ulta Glitter Top Coat to my ring fingers.


Jen's:  She started with 2 coats of Essie Watermelon on all her fingers except the ring fingers.  Next, she used her dotting tool to add 2 dots of Essie Raise Awareness to all her fingers, but on the ring finger she did the opposite, with Essie Raise Awareness on the nail and 2 dots of Essie Watermelon.  She topped everything off with a coat of SV.
 Hope you like our manis!  Have a wonderful day!

~Nailed by Brittany, Ericka & Jen~
1 comment

Animal Prints

Today's post is not so much about one manicure but about the mood I've been in lately, and that is the mood for animal prints. Over the last few days I've had zebras and leopards and giraffes on my nails so for today I'm showing you one of each. Also I should disclaimer this post by saying sorry if the photos aren't great they were all taken on my phone.
The first mani is zebra print. This is done with Konad plate m57. I used 2 coats of China Glaze Pink Voltage (my favorite neon!), stamped with Finger Paints Black Expressionism and then for a bit of glitter used Sally Hansen HD LCD.


For the leopard print I used the same plate (Konad m57). I put 3 layers of Sally Hansen HD Spectrum then stamped with Essie Sexy Divide. Sexy Divide is actually a purple color but in the photos (and to a lesser degree in person) the spots look blue. It was still pretty but I wish the spots would have turned out more purple, perhaps if I hadn't used such a strong glittery base.


The final print I have is a giraffe print, I was really excited about this one because I got some new image plates for Christmas and this was on one of them. Since giraffe is a more abstract print I went for neutral colors that way it was obvious what I was going for. I used Mash plate Mash-20. I put 2 coats of OPI DS Classic as the base, I'm not a big fan of neutrals but this is a lovely gold with a holographic shimmer so its not too boring for me. Then I stamped with Sinful Colors Rich in Heart.

~Nailed by Jen~
1 comment

Silly Name... Beautiful Polish

I have to confess despite their wide selection of beautiful colors I don't own very many Essie polishes, they are a little expensive for my budget and unlike OPI I have no way to get the Essies on sale. Also earlier this year after seeing many wonderful reviews I purchased Essie 'Carry On' and I was greatly disappointed with it. But a few days ago I decided to give Essie another try. And it was definitely worth it. I picked up a few bright colors and jewel tones including the one I'm going to show you today, Essie Sexy Divide. Its a deep true purple with a hint of purple shimmer. While I liked the color enough to buy it I didnt really see anything that special about it, until I put it on my nails.

2 Coats Essie Sexy Divide, 1 Coat Seche Vite
This color turned out to be so vibrant and beautiful on my nails that I couldn't resist staring at it constantly while I had it on. Not only that but with the SV on top the entire mani ended up with a really glossy finish. My only disappointment with this polish is that I'm not especially found of Essie's brushes, they are very thin and I find it hard to get nice even coverage. With 2 coats I was able to achieve opacity and after I was finished I just used a small brush dipped in acetone to clean up the cuticles. Another disappointment was my inability to get a good photo, between poor lighting and the fact that I was using my phone to take the photos the photos you see here are abou the best I could manage.

This pic actually makes the polish look a lot darker than it was in real life, in natural light it really shines.
I liked this polish so much that after a day and half of wear instead of taking it off I added one of my favorite glitters to dress it up. I put one coat of OPI Servin' Up Sparkle on top then added another layer of SV. It turned out really pretty and was the perfect combination of 2 of my favorite polishes. For those who are interested Servin Up Sparkle is part of the Serena Glam Slam collection and is a mix of small silver holographic glitters and large silver hex glitters in a clear base, the application on this polish is wonderful, really smooth and with a good mix of glitters spread evenly.

Another not so great photo in artificial light
That's it for today. I've got a few more Essie"s here I'm looking forward to using in the next few days!
~Nailed by Jen~
4 comments

Motley

So I hope everyone is liking the new look of the blog.  I'm completely loving it :)  Thanks again Joe!

Today I wanted to share with you the new Finger Paints Special Effects Motley nail polish.  I was so excited to find this beautiful flakie polish at Sally's in Sandusky.  I was doing some late Christmas shopping with my mom last Friday and I just had to check to see if they had any in stock...and thankfully they did!  I picked up Motley and Asylum.

I wanted to show off the lovely blue/green flakies, so I started with 2 coats of CHI Late Night Dinner in SoHo.  This color alone was beautiful and I will have to wear it alone sometime.  I then did 2 coats of Motley.  I topped everything off with a coat of Essie Good To Go.


 Have you tried the Special Effects nail polishes yet?

~Nailed by Brittany~
1 comment

Fowl Play on Plum Noir

Sorry to be posting again, but Ericka is visiting family and Jen is working like crazy....therefore, you are stuck with me.  After getting back from Florida I wanted to try some of my new polishes.  I picked up these 2 Orly polishes sometime in this month (I can't remember...oops!)  So on Tuesday I wore Orly Plum Noir.  I did 2 coats with a top coat of SV.  I really liked this polish.  It was a beautiful creme plum and the application was great.

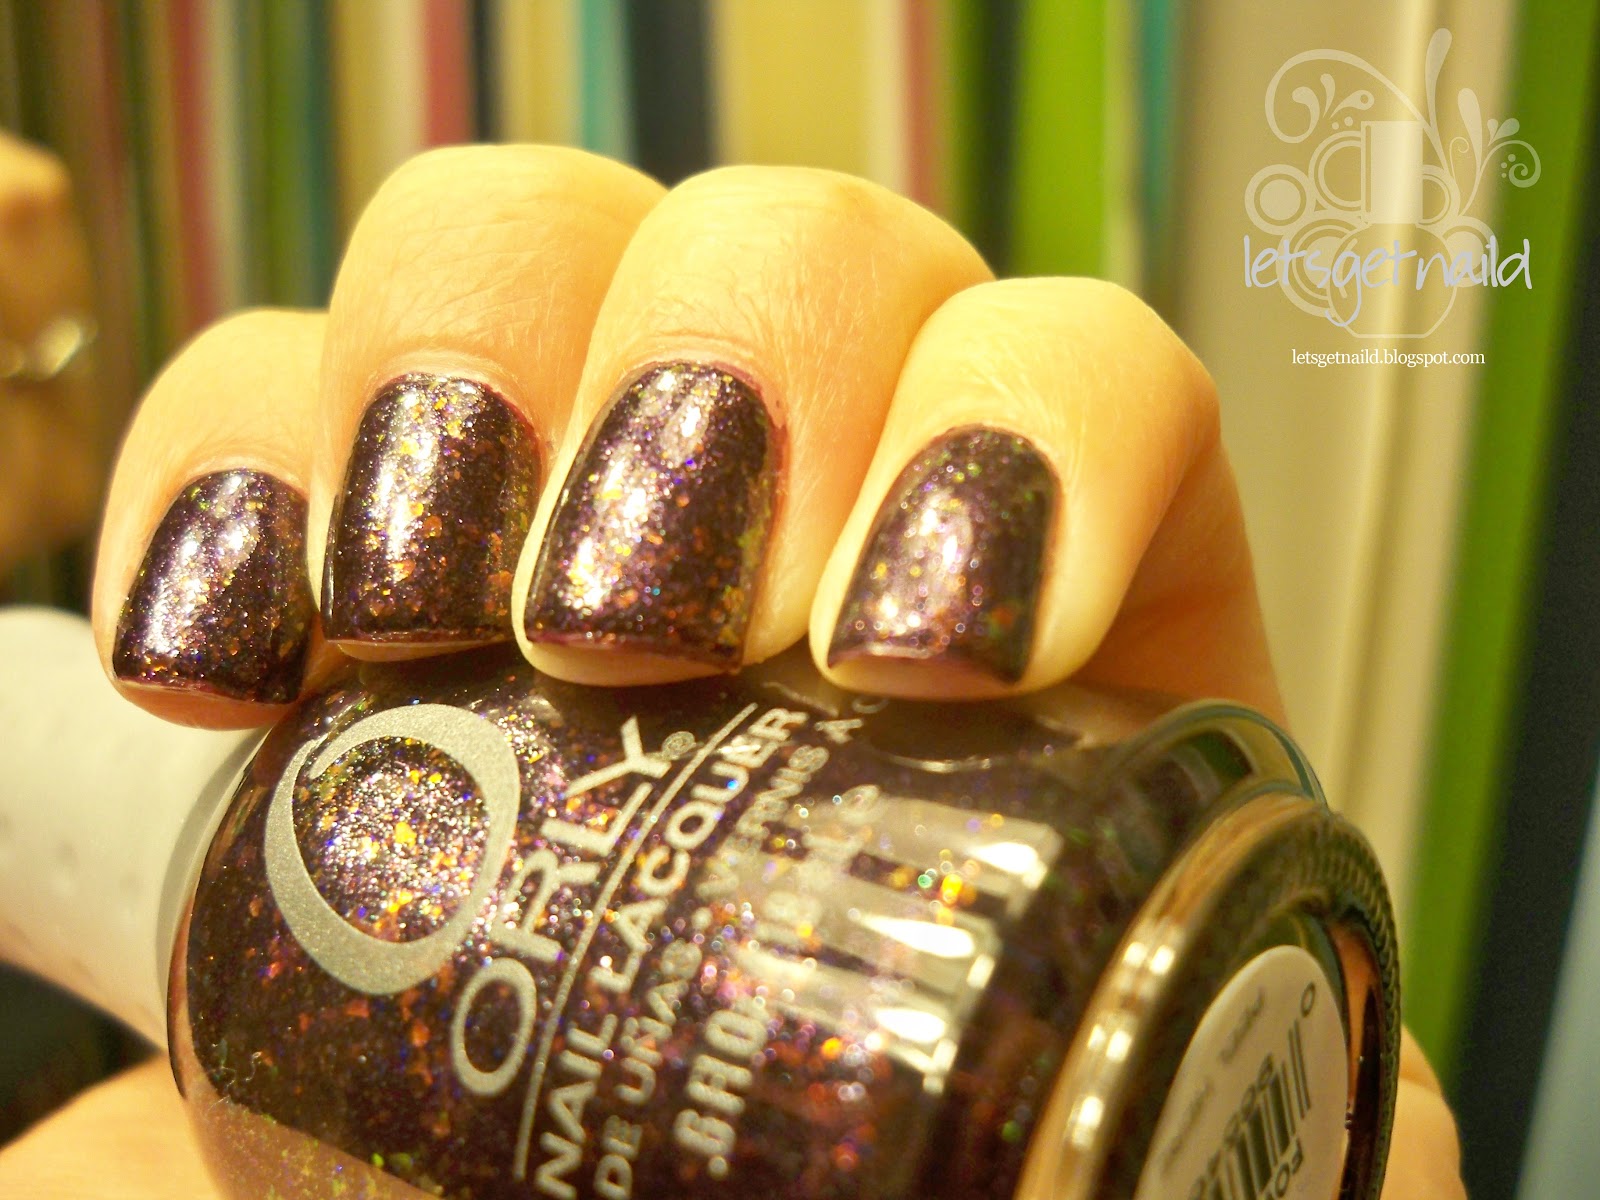
So last I decided that I wasn't in the mood to take out my nail polish so I just decided to paint over it :)  So I thought Orly Fowl Play was the perfect polish to use on top of Plum Noir.  And I was crazy happy with the results.  I'm sure you have better photos of this polish, but I had to share because it really is stunning.  I did two coats of Fowl Play and topped it with Essie's Go to Go (trying something new). 

Is it bad to recycle my manis?  I hope not.


~Nailed by Brittany~
1 comment

Essie Mochacino

So it seems like everyone is ready for a little break from all the color and nail art that the holidays require.  And I'm no exception :)  I actually wore this mani on Christmas day, because I wasn't able to bring a ton of polishes with me, and I wanted something that would just be quick and simple.  I decided that my new Essie Mochacino would fit the bill perfectly. 

I did two quick coats and topped it off with a coat of SV.  I have just recently started purchasing Essie and so far I really like them.  The application has been great with all of them so far, and the bottle and brushes are great.  This polish is a nice nude/beige/tan color with silverish shimmer.  I really liked the color and after all the reds that I had been wearing it was definitely refreshing.  Unfortunately, I did have a little staining from Wocka Wocka! which I wore the day before, but I say that's just because I didn't have all my supplies with me.

Here is a picture of the sharks teeth that I found on the beach on Monday.  Finding shark teeth at the beach is one of my favorite parts of visiting my Grandparents.  We go there at least one a year and we always find time to hunt for sharks teeth. 
I love the little one.  So cute!!!
Are you all ready for some nude/plain colors?

~Nailed by Brittany~
2 comments

Christmas Trees

So I'm just going to do a quick post for you today.  Sorry for the lack of post yesterday, but I was traveling most of the day and didn't have time to get a post together.

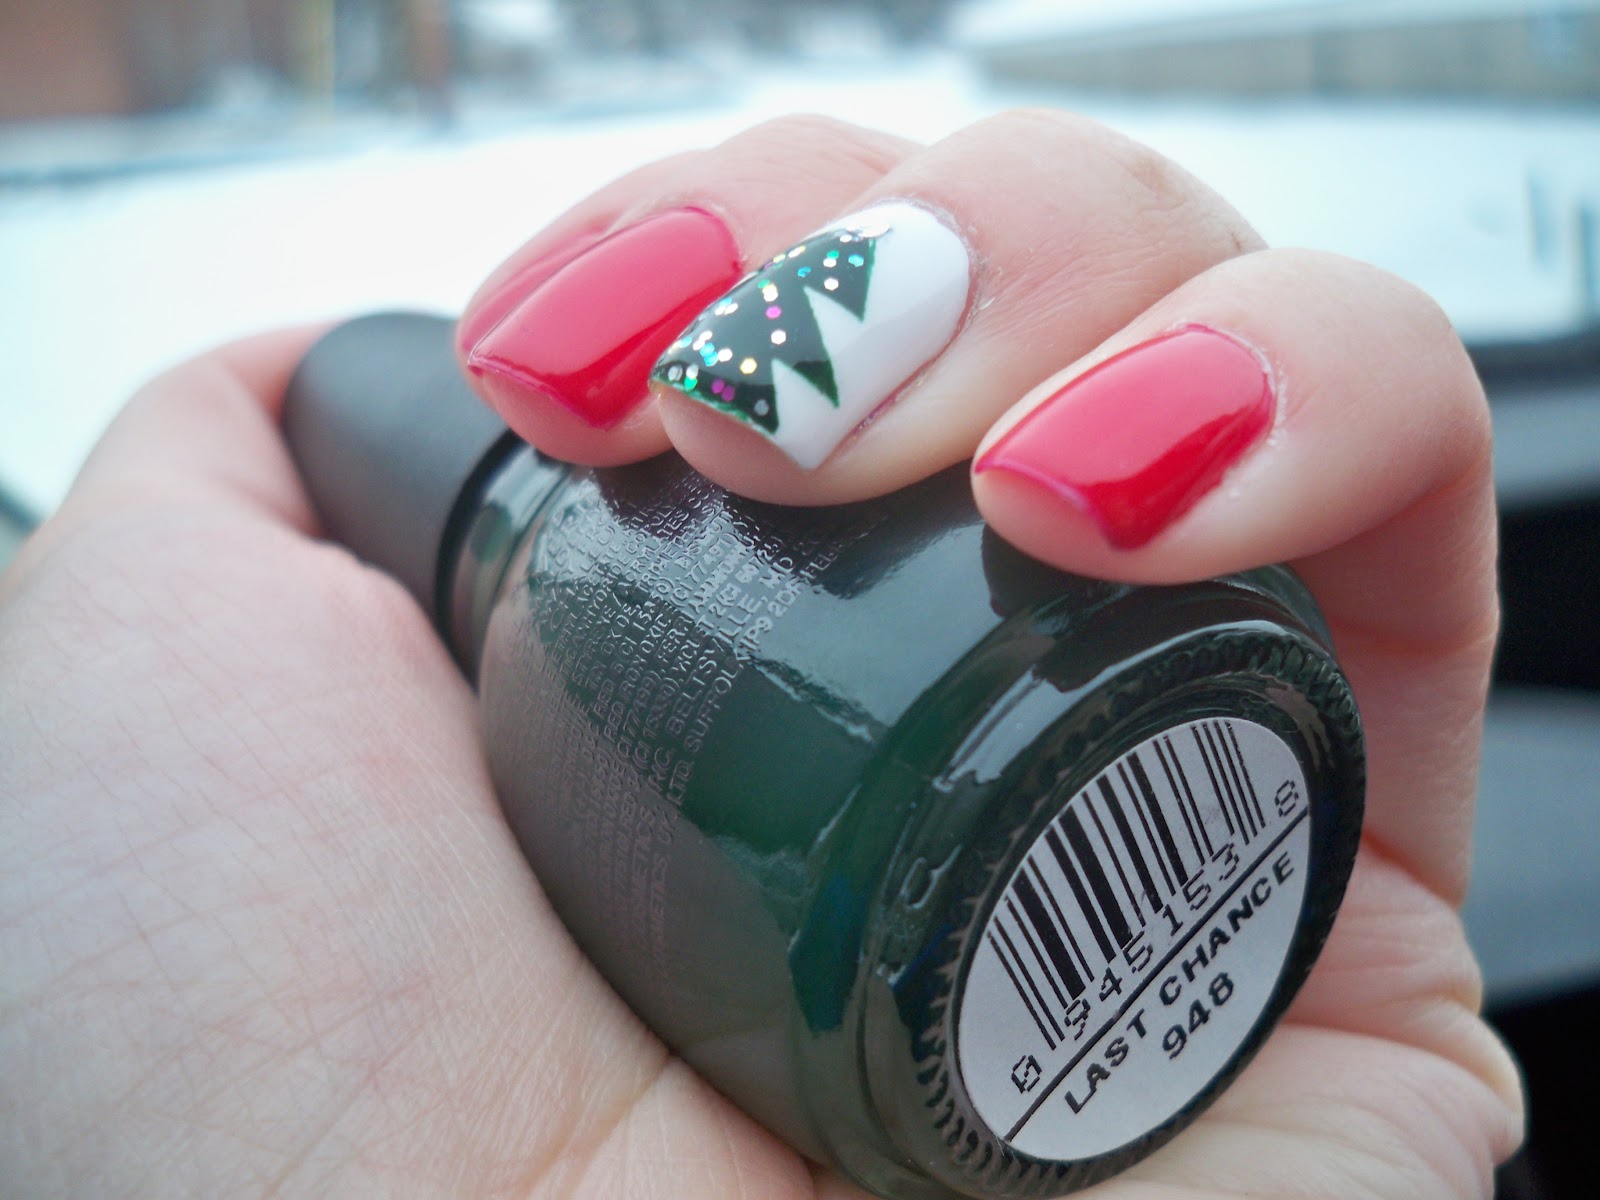
I wanted to share with you the Christmas tree manis that I did this week.  I had seen the tutorials from the amazing Jane at Nailside and just have to give them a try.  The first mani started with 2 coats of Sinful Colors Ruby Ruby on all my fingers with a nice coat of SV to finish it off.  However, on my ring finger I did 2 coats of OPI Alpine Snow and then topped that with a coat of SV and then taped off the Christmas tree and I used Sinful Colors Last Chance.  I then added an unknown multi-colored glitter to look like  ornaments/lights and one large sliver glitter as the topper.  I really liked the way this came out.  I definitely need to practice my taping skills, but I still think that they looked good.
That's snow is the background :)

This photo shows Ruby Ruby the most accurately.
The next Christmas tree mani that I did is a little more crazy. I started by creating a jelly sandwich with China Glaze Innocence and an unknown red and green glitter on all my fingers except for the ring finger.  On the accent nail I started with 2 coats of Finger Paints Scenery Greenery and added a layer of unknown green/silver glitter polish.  After topping that with a coat of Gelous and SV I taped off the tree and used OPI Wocka Wocka!  I also added a little bead (I received these with my December Julep Maven box) as the topper.  One last coat of SV sealed it all in. Its a little crazy but I still love it :)
Sorry about the lighting.  I'm at my grandparents and I didn't get a picture in the sunshine (I was napping :) )

I hope everyone is enjoy this holiday season!!!

Merry Christmas!!!

~Nailed by Brittany~

P.S. As you can see I was unable to tag my photos. Sorry!
3 comments

Modern Holly with Vintage Velvet

For this holiday mani I wanted to keep it simple.  I had seen on a nail blog (of course, I can't remember which one...sorry) where they just did three dots on the accent nail.  I really liked the look of this, so I decided that I would use this idea for my holiday mani.

I started with 2 coats of Finger Paints Vintage Velvet.  I love this polish, the color, application, formula are all just great.  I then added three dots to my ring fingers and thumbs.  I did the outer 2 dots with China Glaze Re-Fresh Mint (the leaves) and the middle dot with OPI Wocka Wocka! (the berry).  I then topped it all off with a coat of SV.  I really loved the results and wore this mani for 3 days.
All photos taken inside with a flash.  I wore this during the week, so I don't get to really see the sun :(

What do you think?  Is it festive enough?

~Nailed by Brittany~
No comment yet

Pink Zebra

Today's mani is something I've been thinking about doing for a long time. First because I love animal prints lately, zebra especially, and I love pink and second because the pattern and colors I used match my iphone cover perfectly and little things like that make me happy! For colors I used 2 coats OPI Alpine Snow, it was opaque and smooth with one coat but I just like to use 2, then I used a coat of SV for quick dry. I stamped with ORLY Oh Cabana Boy using Konad plate M57, then put one final layer of Seche Vite.

2 Coats Alpine Snow, stamped with ORLY Oh Cabana Boy
 I love stamping my nails, once you get the hang of it it doesn't take very long and always looks nice. My nails are in terrible shape right now, partially because I started biting them again (bad me!) so they are short and partially because my winter skin is dry and my cuticles look awful. Despite the bad shape my nails are in I got so many compliments on this mani when I wore it Christmas shopping! It completely made my day and of course I felt the need to explain the stamping process to everyone who mentioned my nails! I definitely recommend it to anyone who has never tried it, the stamps are fairly inexpensive on Amazon and its so simple!

In florescent light, with working nights and the limited wintertime daylight its hard to get good lighting for pics.
~Nailed by Jen~
1 comment

Army of 1

As Jen had told you, we took a little trip to Ulta and lets just say she was not the only one to get some new polishes.  I was excited because the Ulta polishes were on sale for buy one, get one free.  Ulta Salon polishes are normally priced at $6.00 a bottle.  So I was excited to get the polishes for $3.00.  We have acquired quite a nice collection of Ulta polishes since we have become serious about our nail polish obsession.  And I really like there polishes.  I enjoy the formula, as well as the bottles and brushes that they have.  If you haven't tried Ulta polishes yet, you should really think about giving them a try.

The first polish I decided to test out was Ulta Army of 1.  This polish is a lovely army/camouflage green color with just a hint of shimmer in it.  I did 2 coats of this and topped it with a coat of SV.  I completely loved this color.  I was a little nervous about the color, but it ended up being so pretty. The color is a nice mossy green with a touch of grey.  In some lights it would look more grey then green, but the next second it would be more green.  Either way its lovely.  There is also a little bit of shimmer in this polish.  I could only see it sometimes but that was just fine.  Now for the pictures:

Taken with the flash.  It wasn't very sunny out this day :(
You can see the hint of shimmer in the bottle and a little on the nails too.  Click to enlarge :)
Do you like this color?  I think its perfect for the fall.  Do you have a favorite army green color? 

~Nailed by Brittany~
No comment yet

Excuse Moi

The other day I was lucky enough to get about half of O.P.I's Holiday 2011 colleciton inspired by The Muppets Movie. I've been excited about this collection for a while so I was thrilled to get my hands on a few bottles (and a few more that I picked up for Brittany). Going with our Pink October theme I decided to wear 'Excuse Moi' first. 'Excuse Moi' is has a rose pink base with silver micro glitter and small multicolored (silver, gold, green, blue, orange, pink) hexagonal glitters.

2 Coats 'Excuse Moi' 2 Coats SV in indoor lighting
Not only is this polish gorgeous, like a party on my nails, but it gets the best coverage ever for a glitter. Typically I have to put glitter on a base color or coat it on super thick, but even with 1 coat of 'Excuse Moi' I was pleased with the coverage, you could still see the nail but the pink color was obvious and the glitter was evenly distributed. I went with 2 coats and it was opaque with tons of glitters, it went on smooth and wasn't chunky at all which is another problem I have with glitter polish. It dried a bit bumpy but the Seche Vite took care of that.

In natural light, click to enlarge the pic its so much prettier when you can see all the colors.
So far I have 'Excuse Moi' plus all of the reds and neutrals from this collection and 'Excuse Moi' is my favorite by far though they are all gorgeous. Currently I'm awaiting the rest of the glitters which my lovely cousin picked up for me this weekend. When I get them I'm planning to swatch and post the whole collection, but for now enjoy the beauty that is 'Excuse Moi'
~Nailed by Jen~
1 comment

Fifth Avenue Left A Message

The mani I'm bringing you today is from a while ago, but it fits with our October theme. I wanted something simple, but with a little bit of pop.

I started off with 2 coats of China Glaze - Fifth Avenue. This polish has a creme finish and is a dusty mauve-y pink. The application was great and was an easy clean-up. I added Finger Paints - Hue Left A Message? to both ring fingers. This color is a pink glitter in a clear base. The glitter matched perfectly and really looked great. I topped off the mani with Orly - Sec' N Dry topcoat.

Indoor lighting due to the rainy weather outside.

Another indoor shot

On a side note, I use to love Seche Vite as a topcoat and still think that it is the best topcoat out there. However, I am trying to find topcoats that are "Big 3-Free." So far I haven't found any that are as wonderful as SV. Do you have any suggestions?

~ Nailed by Ericka ~
1 comment

Pink Flamingo

Last week, I wanted to add a few more nail polishes to our 25 Followers Giveaway, so Ericka and I made a little trip down to Sally's to look at what they had.  We decided since was are doing all pink nails in October to support Breast Cancer Awareness month that another pink would be a nice addition to the giveaway.  And the result was Ultra Pro Pink Flamingo.  Of course, we also had to purchase a bottle for ourselves.

This is actually my first bottle of Ultra Pro.  Jen owes and loves the ones that she has, so I knew that it was going to be good.  Well let's just say that I wasn't disappointed :)  I started with a base coat of Orly Ridgefiller and then did 2 coats of Pink Flamingo and topped it off with a coat of SV.  The formula was very nice with this polish, not to thick but not runny.  I also really love the color of this pink.  Its a nice candy pink, but not so candy that it reads too little girl.
In the sun.  This is the most color accurate photo.
Sunshine!  I'm nervous that its going to start hiding soon :)

Shade.
Do you own any Ultra Pro polishes?  Do you have a favorite? 

Also, don't forget to enter our 25 Followers Giveaway if you haven't done so already :)

~Nailed by Brittany~

1 comment

Pretty Sparkly Pink

Today I was lucky enough to get my hands on the Reds and Neutrals portion of OPI's Muppets (Holiday 2011) Collection (YAY), so I've spent the last 3-4 hours swatching, photographing and emailing these polishes, which means I'm gonna keep this post short! Before I start though let me just say I absolutely love the Muppets Collection already and I only own half!
Today's pink polish is Sally Hansen HD 'Byte'. I don't have a ton of drugstore polish but this one was so shiny and pink I had to get it. Its a fuchsia base with pink and blue glitters that looks beautiful in any light at any angle.

3 coats of Byte with 1 coat SV
This polish is super dynamic. In outdoor light the pink color gives off and iridescent purple/blue shimmer indoors its pure bright pink. The formula is pretty sheer so it took 3 coats, but the polish is fairly thin so it wasn't clumpy or thick on the nails.

Outside on a cloudy evening.
I rarely repeat polishes close together but I actually wore this one twice in the last 2 weeks. I just loved the way it looked, I couldn't stop staring when I had it on. I even did my toenails with it last night!

Inside under artificial light.
As you can see by the photos it really does alternate from a fuchsia to a dark pink depending on the lighting. Plus this polish passed my most important test, it held up through two 12 hour shifts at work with very minimal chipping!
~Nailed by Jen~
*Don't forget to enter our  giveaway!
2 comments

Pink Leopard

I know its a few days late but this is our first October post so its up to me to make the announcement; Since October is Breast Cancer Awareness month for the whole month we are going to (try) to do only pink nails. And I'm getting us started with 2 different pink leopard prints. Last week I finally gave in and got some nail stamping stuff so both of these mani's are done with Konad Plate m57.

2 Coats O.P.I. Pinking of You stamped with O.P.I. Be A Dahlia Won't You
For my first leopard print manicure I wanted pink on pink. Pink is my favorite color, especially for polish, so I have tons of pinks and choosing exactly the right ones was a challenge. Instead of over thinking I let my mom pick for me. She chose O.P.I. Pink-ing of You which I loved as a base. For such a light color it had great coverage and only took 2 coats to achieve opacity. I used Be A Dahlia Won't You to stamp and it was a nice contrast. So good picks Mom!

These photos were taken under the florescent lights at Wal-Mart because the lighting sucks at my house :)
For the second leopard mani I did something I've seen all over and been wanting to try for a while. A black leopard print on white with neon spots. This past week I've been a little under the weather (I have shingles) so being the nice friends that they are Brittany and Ericka brought me ORLY Oh Cabana Boy. Oh Cabana Boy is probably one of the prettiest neon pinks I've ever seen, so I was super excited to use it for this manicure.

2 Coats O.P.I. Alpine Snow stamped with ORLY Liquid Vinyl and dotted with ORLY Oh Cabana Boy
I've seen some people do nearly this same manicure freehand but I just don't have the artistic ability for that. So I painted a white base topped it with Seche Vite, then stamped with ORLY Liquid Vinyl. When that dried I used the dotting tool to very carefully put the pink spots in the dark circles from the stamps. I was pretty proud of how it turned out.

In natural light
One last announcement before i go; we've finally reached 25 followers so we'll be announcing details about the giveaway soon! Have a good day everyone!
~Nailed by Jen~


4 comments

I Am Unicorn

Sometimes the beauty of a certain polish is almost impossible to capture on camera. That is the case with today's manicure (which honestly isn't really today's manicure but actually photos from a few weeks ago). Anyway a while back I had purchased a few polishes from OPI's Designer Series. They are all beautiful, dynamic and sparkly, which I love. DS Magic is my personal favorite out of the ones that I own. DS Magic is a blue duochrome with flecks of purple. In real life it looks either blue or purple depending on how I hold my hand. On camera though it just looks plain old sparkly blue, which is pretty but not near as pretty as it is in person.

2 Coast O.P.I. DS Magic with SV on top
I actually tend to prefer DS Magic without a top coat. I feel like the top coat sort of tones down the sparkle a bit. Anyway my brother Joe aka my personal photographer and I tried really hard to get goods pictures of these nails. But it just wasn't looking how I wanted it to. But I seriously recommend this polish for everyone, its beautiful in person.

You can sort of see a hint of purple here if you look closely
Also the title of this post is from this weeks episode of Glee which I am watching right now :) I love Glee and I felt like the title was appropriate since much like this polish unicorns are also impossible to capture on camera... yep I'm a nerd like that.
~Nailed by Jen~

1 comment

Polka Dots!

First let me start by saying Happy First Day of Fall! The weather here in Ohio is raining and chilly, which most people don't enjoy but I am very pleased about, perfect for sweaters and boots. I'm sure by February I'll be sick of the cold but for now its nice, I love when the seasons change. 
The manicure I have today isn't particularly Fall themed but I got a dotting tool yesterday and i couldn't wait to use it.
 Initially when I started painting I was planning to do a rainbow of dots on a white background, but then I saw the black, red and silver sitting together and I decided to go with that instead. I was very happy with the results. 
I started with 2 coat China Glaze 'White on White' and then put a layer of SV on top. I find that when I'm trying to do any nail art its best to put a top coat between the base and the other stuff that way if I mess up I can remove the nail art without taking off the base color. Its saves a lot of time because I tend to mess up a lot. The dots are China Glaze 'Ruby Pumps', Finger Paints 'Easel Come, Easel Go', and ORLY 'Liquid Vinyl'.
Well that's all for me for today. I'm off to have a romantic date night with Brittany. Hope everyone enjoys the change of season this weekend, I unfortunately will be working.
~Nailed by Jen~